

Rye Sourdough Starter
I grew up eating beautiful, dark and dense rye bread as a kid in Poland, and really missed it when my family and I moved to Australia. Although you can purchase rye sourdough here, it tends to be quite expensive. A number of years ago, I used to make sourdough breads frequently (both with and without gluten), and it was such a rewarding process! But over the years, as life got busier, the habit of making bread at home ceased. My family and I don’t eat a lot of bread in general, so when I do make a loaf such as rye sourdough, I end up refrigerating/freezing it to make it last as long as it takes for us to consume the loaf. I recently decided to get back into sourdough making, so I thought I would share my recipe for rye sourdough starter. I am still tweaking the recipe for the bread itself, but once I’m happy with it, I will blog the recipe for that as well.
Ingredients & Tools:
2 clean glass jars with screw-top lids (or glass containers with pop-top lids)
Kitchen scale
Filtered water
Rye flour
Rubber band

Method:
Day 1 evening: into a clean glass jar, add 20g filtered water and 20g rye flour. Stir together until combined and pop the lid on top of the jar loosely. Place the rubber band on the jar to mark the level of the starter. Leave on the kitchen bench.
Day 2 evening: to the jar with the starter, add another 20g of filtered water and 20g of rye flour. Stir together to combine, cover loosely with lid and adjust the rubber band on the outside of the jar. Leave on the kitchen bench.
Day 3 morning: at this point you may start to see some bubbles and the starter beginning to grow (this will happen more quickly in warmer climates and in warmer weather). Move your starter to a clean jar and again, add 20g of starter and 20g of filtered water. Stir to combine, cover loosely and adjust rubber band.
Day 3 evening: by this point, my starter had almost doubled in size since being fed in the morning. Feed again, as per the morning feed.
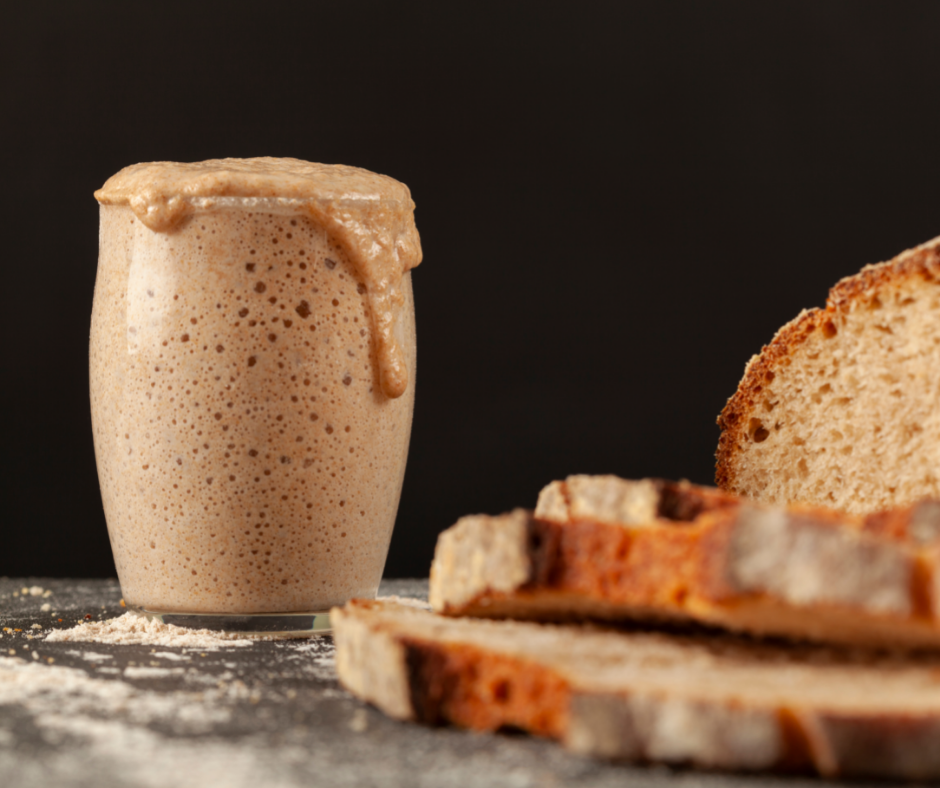
Days 4 & 5: my starter continued doubling consistently in between feeds and on these 2 days, I fed it again morning and evening. On day 5, I transferred the starter to a fresh jar again. By this time, the starter was very bubbly and ready to use.
This is your activated starter that you can use for your sourdough recipe. If not using it straight away, pop it in the fridge until you would like to use it. When you would like to use your starter, remove it from the fridge the night before or at least 4 hours before, and feed it in order to activate it. If you require a large quantity of activated starter for a particular recipe, all you need to do is feed your starter with the total amount in weight of flour and water that will yield the weight of activated starter you require for your sourdough recipe (eg if you require 300g of activated starter - you will add 150g of flour and 150g of water to feed your starter). Always remember to reserve 1-2tbsp of starter once it’s been activated, so you have some ready to go for the next time you are making sourdough.
Hope you enjoy this recipe!
About Magnolia Naturopathy
Magnolia Naturopathy is owned and operated by Brisbane naturopath and herbalist Iwa Brown. At Magnolia Naturopathy, we offer online telehealth naturopathy consultations to assist our clients all over Australia to reach their health goals. Contact us here to find out more, or book your online telehealth naturopathy appointment here.